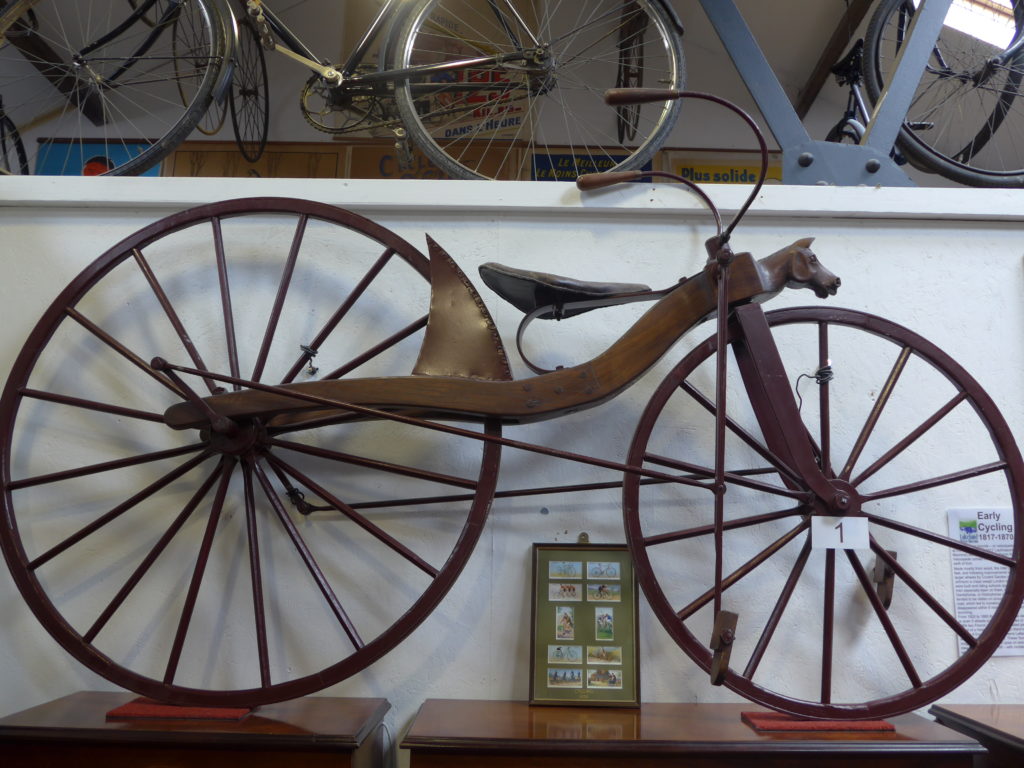
There comes a time when every child’s bike has done it’s duty and is outgrown by it’s original owner, siblings, cousins and friends. This is the time to sell it on and recoup some of the original cost. If you want to get the best price, you’re going to need to know how to prepare a kids bike for sale on eBay (or elsewhere). The alternative is you hang onto it until it’s old enough to be of historical interest!
As we expect you’re wanting to recoup some of the value of your child’s bike in your own lifetime we’re here to help.
In this article, we’ll show you how to take your kid’s old bike and get it looking as good as new (or as close to it as possible!) ready to sell on eBay or elsewhere. First, you may want to read our previous article, 4 questions to ask yourself before selling your kid’s old bike, just to make sure you’re not about to embark on an impossible task!
| Cycle Sprog is an family run, reader supported, website. We belong to several affiliate schemes so may receive a small commission from sales made from links on our site. We do our best to be impartial and recommend products on their quality not whether they are in a scheme. |
How to prepare a child’s bike for selling on ebay
Each used kid’s bike will be in a different condition, but in general dirt, scratches, small areas of rust and worn out consumables (brake pads, handlebar grips etc) can either be dealt with, or disclosed when selling.
If you’re facing a bike that is seized with rust, or had major structural failure, then you’re obviously going to have a much more difficult task selling it on. It is still possible, but you may consider listing it for ‘spares or repairs’.
For this article we’re assuming that you’re not a bike mechanic, but want to tidy up a used kids bike that’s in reasonable condition, prior to sale.
My ‘kids bike’ cleaning and restoration kit
When sprucing up a kids bike these are the items I use the most – don’t worry you’re unlikely to need them all on a single bike!
- latex gloves (to prevent oily hands and nails)
- bucket of soapy water (I use Muc-Off Nano bike cleaner if the bike is particularly grubby)
- old toothbrushes
- nail brush
- cloths – lots of them!
- degreaser
- paint renovator/polish (such as Autoglym Super Resin Polish)
- grease (such as Park Tools Polylube 1000 grease)
- chain lube (such as Muc-Off Wet Lube)
- spray lubricant (such as GT85 spray)
- spanners
- screwdrivers
- allen Keys
- bike pump (I’ve finally invested in a Topeak Joe Blow track pump which has made my life much easier)
- bike stand ( I have one because I do a lot of bike maintenance – it helps stop my back getting sore)
Step 1: See what you’re dealing with
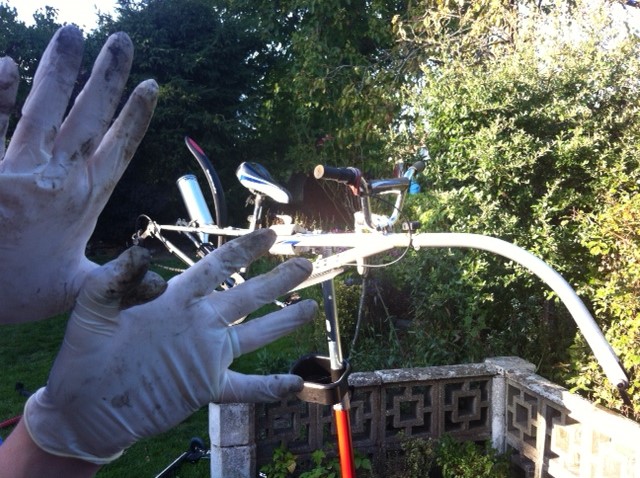
You need to know what you’ve got to work with, so first give the bike a wash! Clean off the years of abuse at the hands of a baby-faced bike assassin and once you’ve shifted the muck and the grime, you can see what lives underneath. A bike cleaner, such as MucOff, will help remove any accumulated filth.
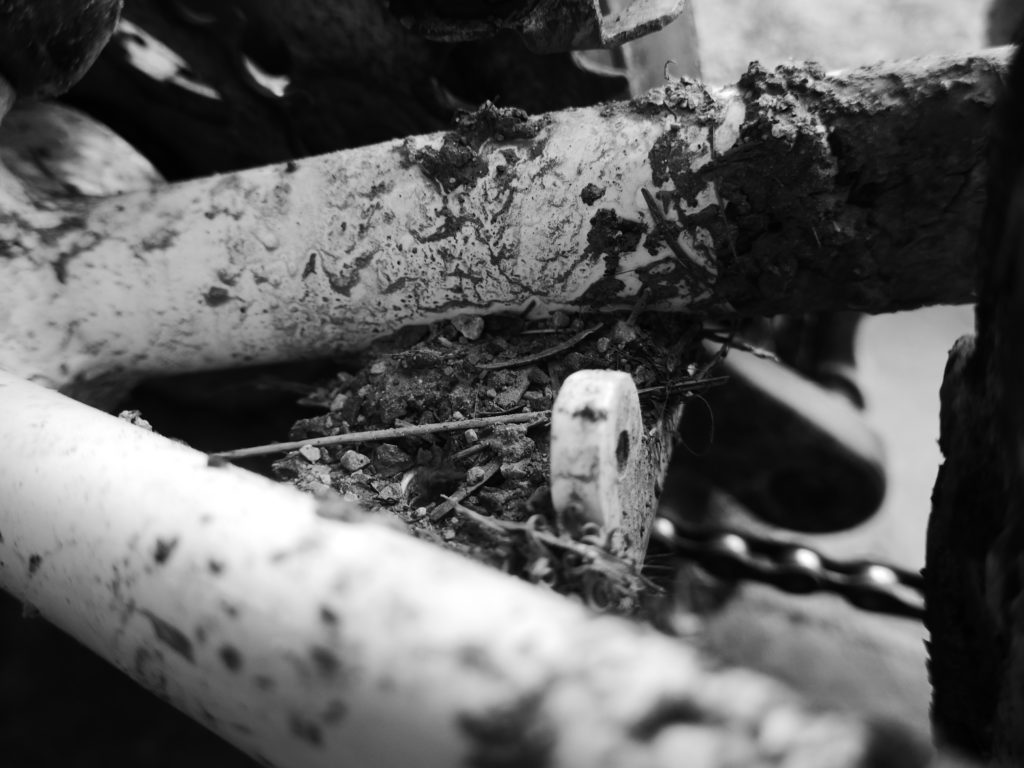
Look for signs of damage on the bike. Dents and cracks are serious; scratches and chips in the paint less so. It’s a kid’s bike after all!
Step 2 – Does everything work on your kid’s old bike?
Trying everything out will give you a feel for whether you need to spend money to get the bike into working order.
Check: do the wheels rotate freely, do the handlebars turn freely, do the brakes and gears work?
Look out for signs of wear – for example brake blocks that are worn out, cables that are rusted and frayed, wheels that are buckled or tyres that are bald with punctured inner tubes.
All of these items can be replaced but it will take time and money. It will also require some mechanical skill and tools to rectify. If you don’t want to go to the expense and time of getting the bike into this condition, or you don’t have the skills to deal with them, then make any faults very clear when selling the bike. That way the person looking to buy can budget accordingly and offer what they think it is worth to them.
For more advice on writing an honest but attractive description of the kid’s bike you’re selling, see our article on How to sell your kid’s old bike on Ebay.
Step 3: Assess the mechanical parts on the bike
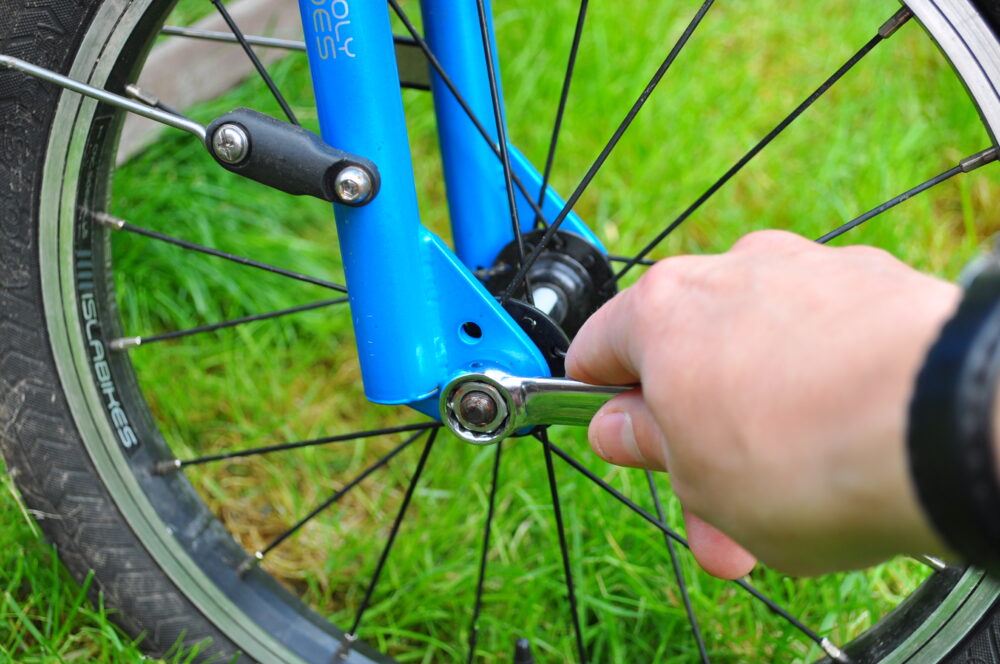
Once you’ve completed a high level assessment, start working through the bike in a methodical way.
Safety first! It can’t be emphasised enough how important this one is.
Look at the brakes. How worn are the brake blocks? Is everything tight? Do they work effectively? Are the brake calipers and brake levers damaged? What state are the cables in? Rusty?
Check the other components to make sure they’re not damaged, bent or significantly worn, e.g. seat post and rails, stem, handlebars, chainrings, crankarms.
Is the chain loose? Does the chain ever come off when riding? If so, adjustment may be needed to stop this.
Look for sharp edges that could cut a child (or adult) and smooth them off if necessary.
Check that both bar-ends are in place (serious injury can occur if they’ve fallen out)
Steering – make sure the handlebars are tight and can be turned freely from side to side. It’s not fun if your bars collapse or you can only go straight ahead.
Are the tyres in good order with plenty of tread? Are the inner tubes fully inflated?
Step 4: Fix or list any issues you find
If you have the skills and tools, you can fix any issues you find. The Park Tools Big Blue Book is a great reference point for virtually everything you would want to do yourself at home.
If you don’t have the skills, equipment, inclination or time, then you can either note them in your description when selling the bike, or get your local bike mechanic on the case.
Step 5: Tidy up the frame
What’s that brown stuff?
It’s quite likely that somewhere on the bike you’re going to find the dreaded rust. If it’s just on the surface of the bike frame or components then that can be dealt with. However, if it’s made holes in the frame then that’s serious and we’re back to listing for ‘spares or repairs’.
Surface rust removal techniques
There are three great products for removing surface rust (coca cola, white vinegar, oxalic acid). A quick google search of how to use them should get you on your way.
Scratches
Nail varnish is a really good way to conceal scratches, or just clear to protect the area. Alternatively, you can contact the manufacturer and ask for the paint code, take it along to your local autopaint shop and get them to knock up a tin of touch up paint for you.
Step 6: Tighten everything up
Is everything on the bike bolted together and tightened up? A pedal falling off may reduce weight but it is not a good thing. Work your way around the bike with appropriately sized spanners and make sure each nut is tightened sufficiently. Note any that have damaged threads and need replacing.
Also, check that the seatpost is secured in place and that any quick release hubs are locked in position.
Step 7: Lubricate and polish your kids bike
Once I’ve fixed all the mechanical issues, I use a good quality degreaser (such as MucOff or GT85) to remove any old grease, replace with new and lubricate the chain.
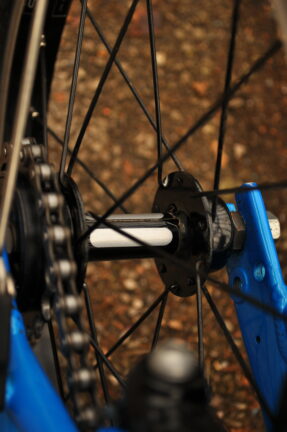
Brake and gear cables can be cleaned and the inners lubricated where they work within the outer casing. A spray lubricant is good for this. Then I engage the levers several times to work the lube through. Derailleurs are given the same treatment.
Then I polish the frame to remove any light scratches and freshen up the paintwork. Over time, paintwork tends to dull and lose that lovely ‘factory fresh’ gleam. However, all is not lost as with a bit of work it is possible to bring it back to a healthy shine.
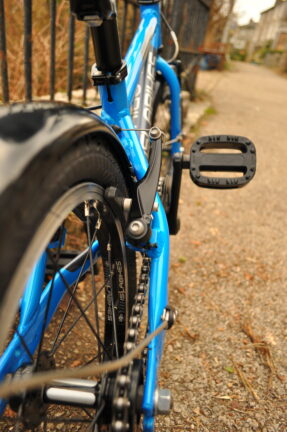
I tend to use Autoglym products as they’ve served me well over the years. So with a clean frame I use a resin polish that tends to remove any light scratching or hazing on the paintwork. After polishing with a soft cloth the paint feels smooth to the touch and has a really deep lustre.
Step 8: Final detailing touches
Step 9: Check, check and check again
So you’ve learnt how to prepare your old kids bike for sale. Hopefully, you’ve now got a bike that runs great, is clean and shiny and even smells nice! And if it’s not quite in perfect condition you’re now aware of the faults.
So, is that it? No, not quite…….
Always do a final check to ensure that before the bike is advertised you’ve checked everything is safe, working as it should and it’s presentation is ready to sell. If you’ve noticed any faults that you haven’t dealt with, make sure that they are clearly stated in your description (if selling online), or pointed out when you discuss face to face with a potential purchaser.
All you have to do now is sell the bike and get useful cash to put towards a new kids bike!
Other articles you may find useful:
- Buying a second hand kids bike
- The best places to buy a second hand kids bike
- 12 things you need to know before buying a kids bike
- Buying a kids mountain bike – things you need to know
Support Cycle Sprog!
If you've found this article useful you can buy us a virtual coffee (or two!) to say thanks and help us keep the Cycle Sprog website going. ![]()
Comments