How to assemble a kids bike out of the box
If you've bought your child a bike and ordered it online you're going to find yourself with a bike box arriving at the door. Sometimes the kids bike inside may come ready to ride, but often it will need a bit of assembling. Don't panic - we're here to help, and in this step by step guide we'll take you through setting up the bike ready to ride.
If you're able to, we recommend doing this several days in advance of when it's needed, just in case you run into difficulties, but if you're reading this at 11pm on Christmas or Birthday Eve we'll help take the panic out of getting the bike ready to ride with our step by step video instructions and handy checklist.
How to set up a kids bike out of the box
Before you go any further, take a moment to download our kids bike assembly checklist . It has all the steps on setting up a kids bike so you can check you've not forgotten anything Take a moment to download and print it now, and it'll help guide you through the process.
Every bike will arrive packed differently so work your way through the list and do those items applicable to your bike.
Setting up a secondhand kids bike?
Please note this article, video and checklist assumes that the bike has been bought new and all the components are working and fitted correctly. If you've bought a used bike we recommend you thoroughly check all parts of the bike, particularly brake pads and tyre treads, for wear and tear. Seek service from your local bike shop if you have any concerns.
Step by step guide to assembling a kids bike out of the box
Step 1 - Get yourself ready
Find a work area that's large enough to set out the bike and parts. If you're going to working on the carpet we recommend covering it over with an old sheet or blanket to stop it getting marked - that wouldn't be a good start!
Remove the bike and all parts from the box
IF YOUR BIKE HAS DISC BRAKES, DON'T TOUCH THE BRAKE LEVERS UNTIL YOU'VE CHECKED THE WHEELS ARE FITTED PROPERLY - this is incredibly important, and will cause you big problems if you do!
Remove all the packaging - if you're planning to sell on the bike at a later date, consider retaining the box and packaging.
Locate and read the manual (if supplied)
Find a photo on-line of the bike fully assembled - this can really help if you're struggling with things like ensuring the forks are the correct way round.
Gather tools - if you've bought from a reputable bike shop or kids bike brand they will supply all the tools you need in the box, except a bike pump. If not, you're probably going to need a hex (Allen) key and possibly a spanner. You may well need a bike pump (and you'll definitely need one in future).
Don't forget to download our kids bike assembly checklist - use this to make sure you've not missed anything out
Step 2 - Check the fork is the correct way round
The fork is the part of the frame that the front wheel fits onto. Sometimes this is turned back to front in the box as it can save space. It can be a bit tricky to tell which is the right way round so in this video Chris demonstrates the correct way round for the fork on a traditional kids bike with v-brakes and also on a mountain bike with suspension forks and disc brakes (which can be a bit more difficult to get right).
Step 3 - Attach and align handlebars
Bikes tend to have the handlebars detached to allow them to fit in the box.
When reattaching the handlebars, check that you've not turned them 180 or 360 degrees - it can be easy to do!
In this video, Chris demonstrates how to check the handlebars are the correct way round, plus how to attach the handlebars back onto the bike using either 2 or 4 bolt fixings.
Step 4 - Fit the saddle to the bike and tighten into place
First, take a quick look at the seatpost to see if there's a thin smear of grease on the section that will go into the frame. If not, you can apply a little bit as it helps to stop the post seizing into place - you'll thank me when down the line you want to change the saddle height.
Make sure the saddle is straight by aligning the nose of it with the top tube of the frame - it helps to stand at the rear of the bike for this. If it's not straight it can be uncomfortable and even cause chafing.
We recommend you set the saddle as low as it will go, and then raise it once your child is straddling the bike. Getting on a bike that is too tall can be quite unsettling.
Note for sizing the bike: When raising the saddle look for the minimum insertion point on the seatpost as this indicates the minimum amount of seatpost that should be inside the frame to avoid damage. To find it, look towards the bottom of the post for a line that goes around it. This line must not be visible - it must be inside the frame of the bike. If your child is already at this point on their new bike, then you'll either need to get a longer seat post (if the rest of the bike fits) or more likely the bike is too small for them.
With the saddle aligned correctly, you need to tighten it in place. This will either be using a quick-release mechanism, or you may need your hex key for this. Don't overtighten - you just need to make sure that the saddle is tight enough so that it won't rotate or slip down when your child is riding the bike.
Step 5 - Attach the front wheel to your child's bike
To save space, many kids bikes (especially for older children) will arrive in the box with the rear wheel in place but the front wheel off.
Before fitting the front wheel, check for the direction of travel on the tyre. Not all tyres will have this, but most do. You are looking for an arrow on the sidewall of the tyre that indicates the direction the tyre will be going when fitted to the bike. Look at the bike from the right hand side and imagine pushing the bike forward. The arrow should be going clockwise.
With the wheel the correct way round, lift the ends of the forks up and carefully lower onto the wheel axle (the bit that runs through the centre of the wheel and has the attachment fittings on it). Ensure the wheel is seated correctly into the fork ends so that the axle is snug up against the top of the slot on both sides. Tighten the fittings (which will either be a wheel nut, a hex key (Allen key) or a quick release mechanism).
Wheels must be tight so always use the correct spanner or hex key to finish tightening these fittings - finger tight is not tight enough.
Once you have tightened up, raise the front of the bike and tap the top of the tyre and try and wiggle the wheel from side to side. You're looking and listening for any movement where you have just secured the wheel into the fork ends. If it's loose - undo the fittings, reseat the wheel correctly, retighten the fittings and check again.
In this film, Chris demonstrates how to fit the front wheel onto a child's bike, and how the different fixing mechanisms work, including a quick-release wheel.
Step 5a - disc brakes
If your child's bike is fitted with disc brakes then there is an extra step required when fitting the wheel - carefully slotting the brake disc between the pads in the brake caliper. It is important not to touch the sides of brake disc with your fingers as grease can be transferred and this will reduce their stopping performance.
In this video, Chris shows you how to attach a front wheel with disc brakes.
Once you're happy that the front wheel is in place, check that the rear wheel is secure and hasn't worked loose in the box.
Step 6 - Reattach a front v-brake and check both brakes are working properly
If you've had to insert the wheel then you need to reattach the v-brakes. This is a little bit fiddly - you need to make sure the metal noodle (the curved metal tube with the 'mushroom shaped' end) fits snugly into the noodle holder. If it's not fitted correctly, the brakes can bind and the wheel may not turn freely.
In this video, Chris demonstrates how to reattach a v-brake, and also what to do if the brake pad is catching on the wheel rim and stopping the wheel from rotating.
Once you're happy that the front brake is working, just double check the rear brake too. It could have become detached in transit.
Step 7 - Check tyres are inflated properly and pump up if necessary
Sometimes tyres can deflate when the bike is being transported, or if it's been stored for a while. It's important to check the tyres before the bike is ridden as tyres that are low on pressure are more likely to puncture, and aren't as much fun to ride on.
Here's Chris to show you how to tell if your tyres need pumping, explaining the difference between the valve types, how much to inflate the tyres, and what to do if your bicycle pump isn't working.
If you don't have a decent pump and want to get one here's our affiliate link so you can get one like Chris is using in the video.
Step 8 - Attach the pedals
It is very important that you put the correct pedal on the correct side of the bike. Each pedal will be marked with either an R or an L.
Top tip: The pedal with the "R" on it is for the right-hand side of the bike when your child is riding it.
Take care to align the pedal so that when looking from above, it is at 90 degrees to the crank arm. If you don't get them in straight you may cause damage to the threads and this is not easy to fix.
You should be able to thread them in pretty much all the way by hand. Then finish off by tightening up with the correct tool. With the bike on its wheels, both pedals can be tightened by threading towards the front of the bike.
Always use your spanner or hex key to tighten up the pedals fully. If they're loose, you may damage the threads or they may come off and your child could be injured.
Here's Chris to walk you through attaching the pedals step by step.
Step 9 - Quick safety check
Before you allow your child to ride the bike, always work from one end of the bike to the other checking all the parts are attached and secured correctly:
- Tyres
- Front & rear wheel
- Fork
- Handlebars
- Brake levers
- Pedals
- Saddle
- Check that both brakes work
- The gears and suspension should have been set up correctly before the bike was shipped to you, but double-check them just in case.
If you haven't already download our kids bike assembly checklist so you can do this away from your screen.
Make sure you've checked everything off, even if that part came fully assembled in the box.
Safety notice: If you have any concerns that the bike isn't set up correctly, then don't allow your child to ride it. Seek advice from your local bike shop or bike mechanic (and please don't expect them to help you for free if you haven't bought from them!)
Step 10 - Wrap and ride!
If the bike is a present you're now ready to wrap the bike and give it to your child. Here are some quick and easy ways to wrap up a kids bike, that other Cycle Sprog readers have used in the past.
Once your child has opened their present you may need to adjust saddle height, brake levers and suspension to suit them.
Then all that's left is to get out and enjoy your ride!
Easter holiday rides
Recent posts
-
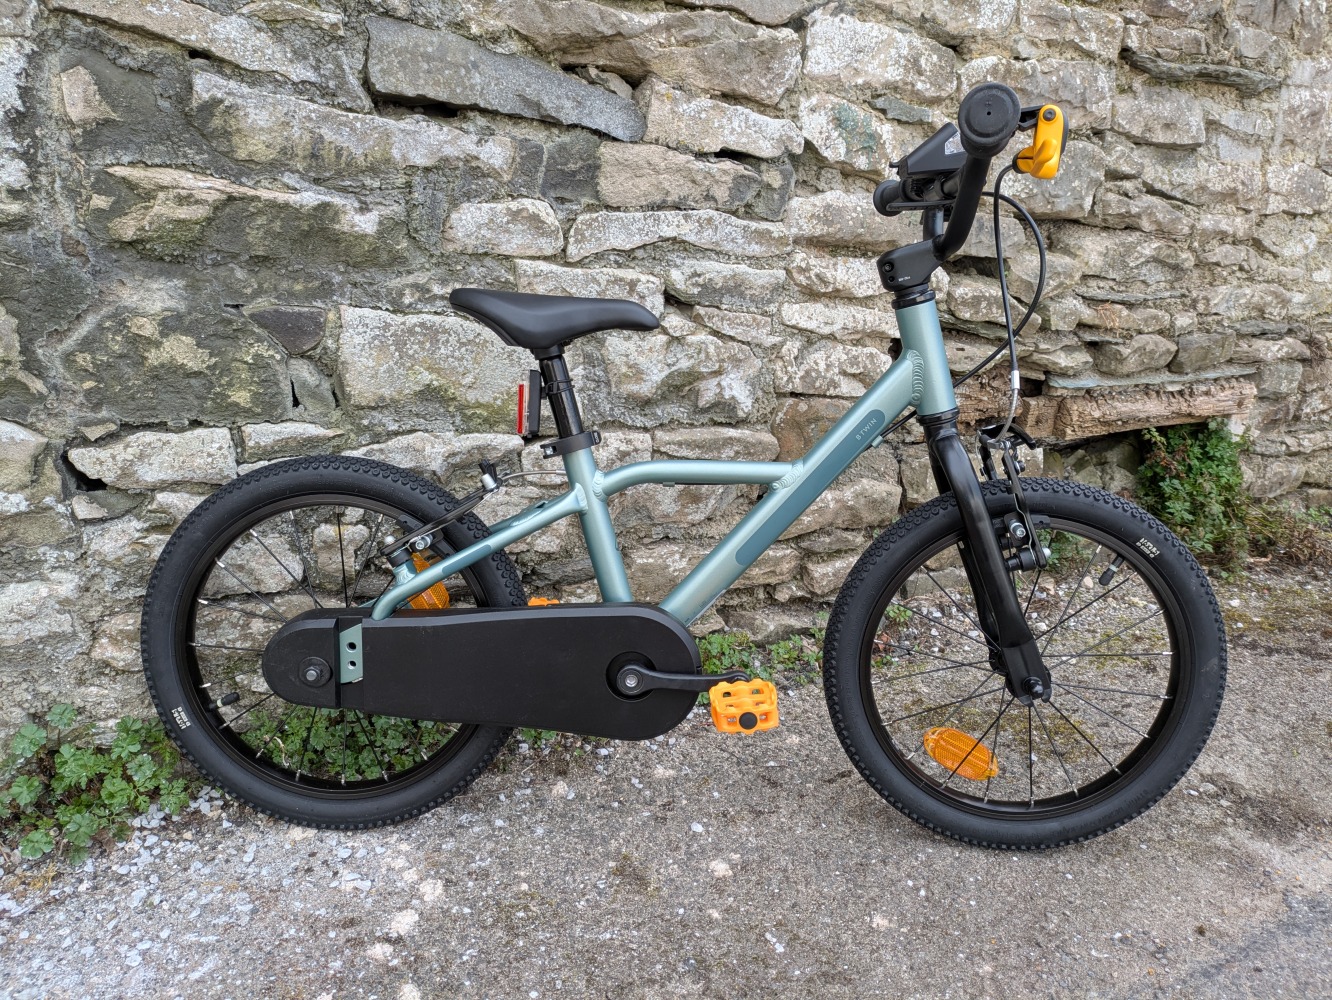 BTWIN 16” Discover 900 First Impressions Review: A budget-friendly 16″ Decathlon bike
-
 BTWIN kids’ bikes: a comprehensive range overview
-
 3 incredible traffic-free family cycling routes in Austria & Italy
-
 BTWIN 500 Baby Helmet Review: the smallest bike helmet available in the UK
-
 The joy of cargo biking – How electric cargo bikes are transforming family life
-
 First e-bike helmet for babies: the Ozmo Helmets Kickstarter campaign
-
 Hamax Zenith Relax Review: A reclining rear bike seat


Comments